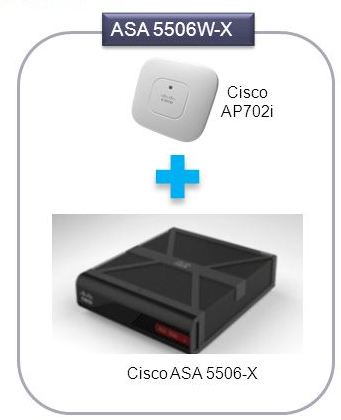
In the last article we mentioned that the ASA 5506W-X includes a Cisco Aironet 702i wireless access point integrated into the ASA. And the access point connects to the ASA internally over the GigabitEthernet 1/9 interface. All wifi clients belong to the GigabitEthernet 1/9 network.
The access point includes an autonomous Cisco IOS image, which enables individual device management. You can install the lightweight image if you want to add the ASA 5506W-X to a Cisco Unified Wireless Network and use a wireless LAN controller.
In fact, the ASA 5506W-X wireless access point is disabled by default. Connect to the access point GUI so you can enable the wireless radios and configure the SSID and security settings.
What You Should Know Before You Begin
This procedure requires you to use the default configuration.
Procedure to Enable the Wireless Access Point (ASA 5506W-X)
1. On the computer connected to the ASA inside network, launch a web browser.
2. In the Address field, enter https://192.168.10.2. You are prompted for the username and password.
Note: If you are unable to reach the access point, and the ASA has the default configuration and other networking issues are not found, then you may want to restore the access point default configuration. You must access the ASA CLI (connect to the ASA console port, or configure Telnet or SSH access using ASDM). From the ASA CLI, enter hw-module module wlan recover configuration.
3. Enter the username Cisco and the password Cisco. The access point GUI appears.
4. On the left, click Easy Setup > Network Configuration.
5. In the Radio Configuration area, for each of the Radio 2.4GHz and Radio 5GHz sections, set the following parameters and click Apply for each section:
–SSID
–Broadcast SSID in Beacon
–Universal Admin Mode: Disable
–Security (of your choosing)
6. On the left, click Summary, and then on the main page under Network Interfaces, click the hotlink for the 2.4 GHz radio.
7. Click the Settings tab.
8. For the Enable Radio setting, click the Enable radio button, and then click Apply at the bottom of the page.
9. Repeat for the 5 GHz radio.
…
The Original info and guide from
https://www.cisco.com/c/en/us/td/docs/security/asa/quick_start/5506X/5506x-quick-start.html
More Related…
The New Cisco ASA 5506-X, More Comparisons
How to Start a Cisco ASA 5506-X?
How to Start a Cisco ASA 5585-X Series
ASA 5506-X/SecurityPlus, 5506W-X & 5506H-X, Cisco ASA with FirePOWER Services, What’s New Here?
ASA 5508-X and ASA 5516-X Overview