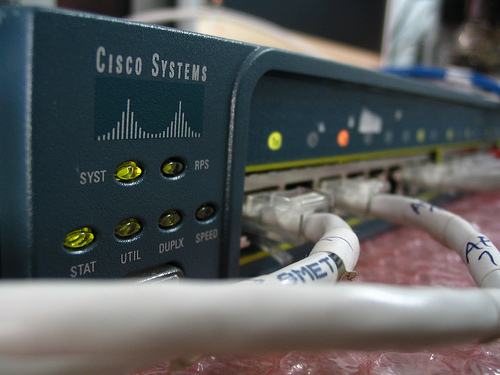
By default the Cisco Catalyst 2950 is not configured for remote administration. Basic configuration to enable remote administration on the Cisco Catalyst 2950 includes configuring an IP address on the switch and also enabling telnet access. Once these configurations are completed, the Cisco Catalyst 2950 Switches can be managed by IP address.
What You Need to Manage Cisco 2950 Switches by IP Address
- Cisco serial console cable
- Windows XP computer connected to the local network
- Privileged exec password for the Cisco Catalyst 2950
- IP address, subnet mask and gateway IP address for the switch
How to Manage Cisco 2950 Series by IP Address
1. Connect the Cisco serial console cable into the console port on the Cisco Catalyst 2950 switch and connect the other end of the cable into the 9-pin serial port, which is usually located on the back or side of the Windows XP computer.
2. Click the “Start” button and select the “Run” box and type “hypertrm” and press the “Enter” key and the HyperTerminal program will appear. Type a name for the session, such as “Cisco 2950” in the “Name:” field and click the “OK” button. Click the “Connect using:” drop-down menu, then click the “Com port” used to connect the Windows XP computer to the Cisco 2950 switch. Press the “Enter” key. Then click the “Bits per second:” drop-down menu and select “9600.” Click “None” in the “Flow Control” drop-down menu and press the “Enter” key.
3. Press the “Enter” key and the Cisco command prompt will appear. Type “enable” and press “Enter.” Then enter the password if requested.
4. Type “config term” and press the “Enter” key to enter “Configuration Mode” on the switch.
5. Type “line vty 0 4” and press the “Enter” key. Type “password abcd,” replacing “abcd” with the password you wish to use to secure telnet access. Press the “Enter” key. Then type “login” and then press the “Enter” key.
6. Type “interface Vlan1” and press the “Enter” key. Then type “ip address 10.0.0.1 255.0.0.0,” replacing the “10.0.0.1 255.0.0.0” with the IP address and subnet mask assigned to the switch. Press the “Enter” key.
7. Type “exit” and press the “Enter” key. Then type “ip default-gateway x.x.x.x,” replacing “x.x.x.x” with the gateway IP address for the switch. Press the “Enter” key. Then type “end” and press the “Enter” key. Type “copy run start” and press the “Enter” key to save the configuration. Type “exit” and press the “Enter” key.
8. Click “Start” on the Windows XP computer. Click “Run” and then type “cmd” and press the “Enter” key. Type “telnet x.x.x.x” on the command line, replacing “x.x.x.x” with the IP address just configured on the Cisco Catalyst 2950. Press the “Enter” key. Type the telnet password just programmed into the Cisco Catalyst 2950 when requested. Press the “Enter” key and the Cisco command prompt should display so you can now manage the switch over the network.
Reference: Assigning the Switch IP Address and Default Gateway

