
To configure SSH on a Cisco switch and enable secure remote management, you typically need to set up a local user account, configure an IP domain name, generate RSA cryptographic keys, specify the SSH protocol version, and apply these settings to the Virtual Teletype (VTY) lines. This process ensures encrypted communication, protecting sensitive management traffic from eavesdropping and unauthorized access, unlike older, insecure protocols like Telnet.
If you need a quick reference or a step summary, check out our dedicated FAQ guide here: How to Enable SSH on Cisco Switch?
What is SSH and Why is it Important for Cisco Switches?
SSH (Secure Shell) is a cryptographic network protocol that allows for secure remote command-line interface, remote command execution, and other network services between two networked computers. For Cisco switches, configuring SSH on Cisco switch is crucial for establishing a secure connection to manage the device, as it encrypts all traffic, including passwords and commands.
SSH vs. Telnet Cisco
Historically, Telnet was used for remote access, but it sends data, including authentication credentials, in plain text, making it highly vulnerable to interception. SSH, on the other hand, provides strong encryption and authentication, making it the industry standard for secure remote access.
| Feature | SSH (Secure Shell) | Telnet |
|---|---|---|
| Security | Encrypts all data | Sends data in plain text |
| Authentication | Strong, supports various methods | Weak, susceptible to interception |
| Data Integrity | Ensures data is not tampered with | No data integrity checks |
| Port | TCP Port 22 | TCP Port 23 |
| Recommendation | Highly Recommended for secure management | Not Recommended for production use |
Prerequisites for SSH Configuration
Before you begin to enable SSH on Cisco Catalyst switches, ensure the following are in place:
- Hostname: Your switch should have a configured hostname.
- IP Address: The switch’s management interface (e.g., VLAN interface) must have an IP address configured and be reachable from your management station.
- Clock Synchronization (Optional but Recommended): While not explicitly required by all sources, ensuring your switch’s clock is synchronized can aid in logging and security.
Step-by-Step Guide: Configuring SSH on Your Cisco Switch
Here’s a detailed guide on how to configure SSH on Cisco switch, following best practices:
1. Create a Local User Account
SSH uses local user accounts for authentication.
configure terminal
username <your_username> privilege 15 password <your_password>
Example:
username admin privilege 15 password YourSecurePassword2. Configure an IP Domain Name
An IP domain name is needed to generate RSA keys:
ip domain-name <your_domain_name.local>Example:
ip domain-name unreal.local3. Generate RSA Cryptographic Keys
RSA keys are required for SSH encryption and authentication:
crypto key generate rsa modulus 2048A 2048-bit modulus is recommended for strong security.
4. Specify SSH Version
SSH Version 2 should always be used:
ip ssh version 25. Configure SSH Parameters (Timeout and Authentication Retries)
Control session idle time and login attempt limits:
ip ssh time-out 60
ip ssh authentication-retries 3
6. Apply SSH to VTY Lines
Configure VTY lines to accept only SSH and use local authentication:
line vty 0 15
transport input ssh
login local
7. Enhance SSH Server Algorithms (Advanced Security)
For modern security, configure strong encryption, MAC, KEX, and hostkey algorithms:
ip ssh server algorithm mac hmac-sha2-512 hmac-sha2-256
ip ssh server algorithm encryption aes256-gcm aes256-ctr aes192-ctr aes128-gcm
ip ssh server algorithm kex ecdh-sha2-nistp384 ecdh-sha2-nistp256
ip ssh server algorithm hostkey rsa-sha2-512 rsa-sha2-256
ip ssh server algorithm publickey ecdsa-sha2-nistp384 ecdsa-sha2-nistp256Note: Support depends on your IOS/IOS XE version and hardware model.
8. Save the Configuration
Save your configuration so it persists after a reboot:
copy running-config startup-configTip: Test SSH connectivity before saving changes on remote switches to avoid accidental lockout.
Testing Your SSH Configuration
Test using an SSH client like PuTTY or a CLI tool:
ssh -l <your_username> <switch_ip_address>Example:
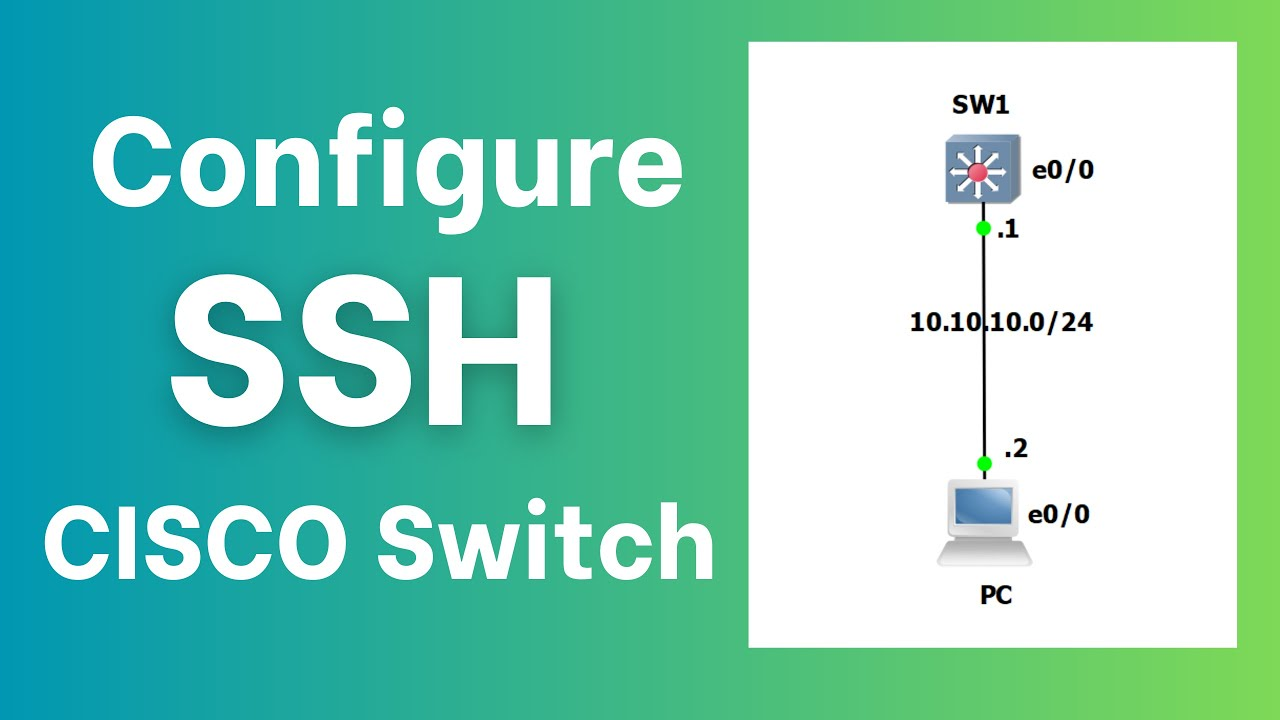
ssh -l admin 10.10.10.10Successful login indicates SSH is working properly.
Advanced SSH Security Considerations
To harden SSH further:
- Use ACLs: Restrict SSH access to trusted management subnets or jump hosts.
- Update Firmware: Maintain the latest IOS/IOS XE versions to benefit from security patches.
- Align with Your Threat Model: Configure stricter policies for production environments.
- Use SSH Audit Tools: Tools like ssh-audit can help verify your SSH configuration strength.
Troubleshooting Common SSH Issues
- Lockouts: Misconfiguration may require physical console access for recovery.
- Client Compatibility Issues: New Linux distributions may require updating SSH server algorithms on older Cisco devices for compatibility.
Frequently Asked Questions (FAQs)
Q1: Why configure SSH on a Cisco switch instead of Telnet?
SSH encrypts all traffic, protecting credentials and commands from eavesdropping, unlike Telnet, which transmits data in plain text.
Q2: What is the recommended RSA key size for SSH on Cisco switches?
Use 2048-bit RSA keys for strong encryption.
Q3: Can SSH be configured on older Catalyst 2960S switches?
Yes, with updated firmware, but older hardware may not support all advanced SSH server algorithms.
Q4: How to test SSH configuration on Cisco switches?
Use an SSH client (e.g., PuTTY) or CLI to connect using:
ssh -l username switch_ip
verifying connectivity and login success.

Conclusion
Configuring SSH on a Cisco switch is essential for protecting your infrastructure and enabling secure remote management. Following these steps helps network engineers and sysadmins protect sensitive management traffic across Catalyst 2960S, 9200 series, and other Cisco switches in production environments.
Read More:
Gartner Report: Huawei Dominates Critical Storage Platform Capabilities
Best 10Gb Switch for SMB in 2025: Unlock Next-Gen Network Performance

Expertise Builds Trust
20+ Years • 200+ Countries • 21500+ Customers/Projects
CCIE · JNCIE · NSE7 · ACDX · HPE Master ASE · Dell Server/AI Expert
